
To properly cook an egg is very much an art form, and says a lot about your skill and your attitude as a cook. One simple ingredient can become elevated to something great if you have the patience. To me, it illustrates one of the most basic principles of cooking, letting your ingredients and your technique shine through. Eggs don't have to be complicated, their beauty lies in their simplicity and their versatility. An egg can be cooked and prepared so many different ways. One of the most basic of which is the fried egg. Let's start from the beginning.
Selecting Your Eggs

At first glance, there appears to be a great deal of variety in your local supermarket when it comes to eggs. Many of you may be partial to cage free eggs. You may be surprised (or not) however to hear that a lot of the egg producers follow the same practices. Because of poor regulation, your cage free eggs may come from chickens that may be subject to the same indoor environment, overcrowding, and poor health conditions that your run of the mill ordinary eggs may come from. The distinction may lie in the clever wording. Because you are buying cage free eggs, you can be assured that your chickens are, at least to a certain extent, not living in a cage. However, this does not assure better practices or a safer egg than your normal eggs.
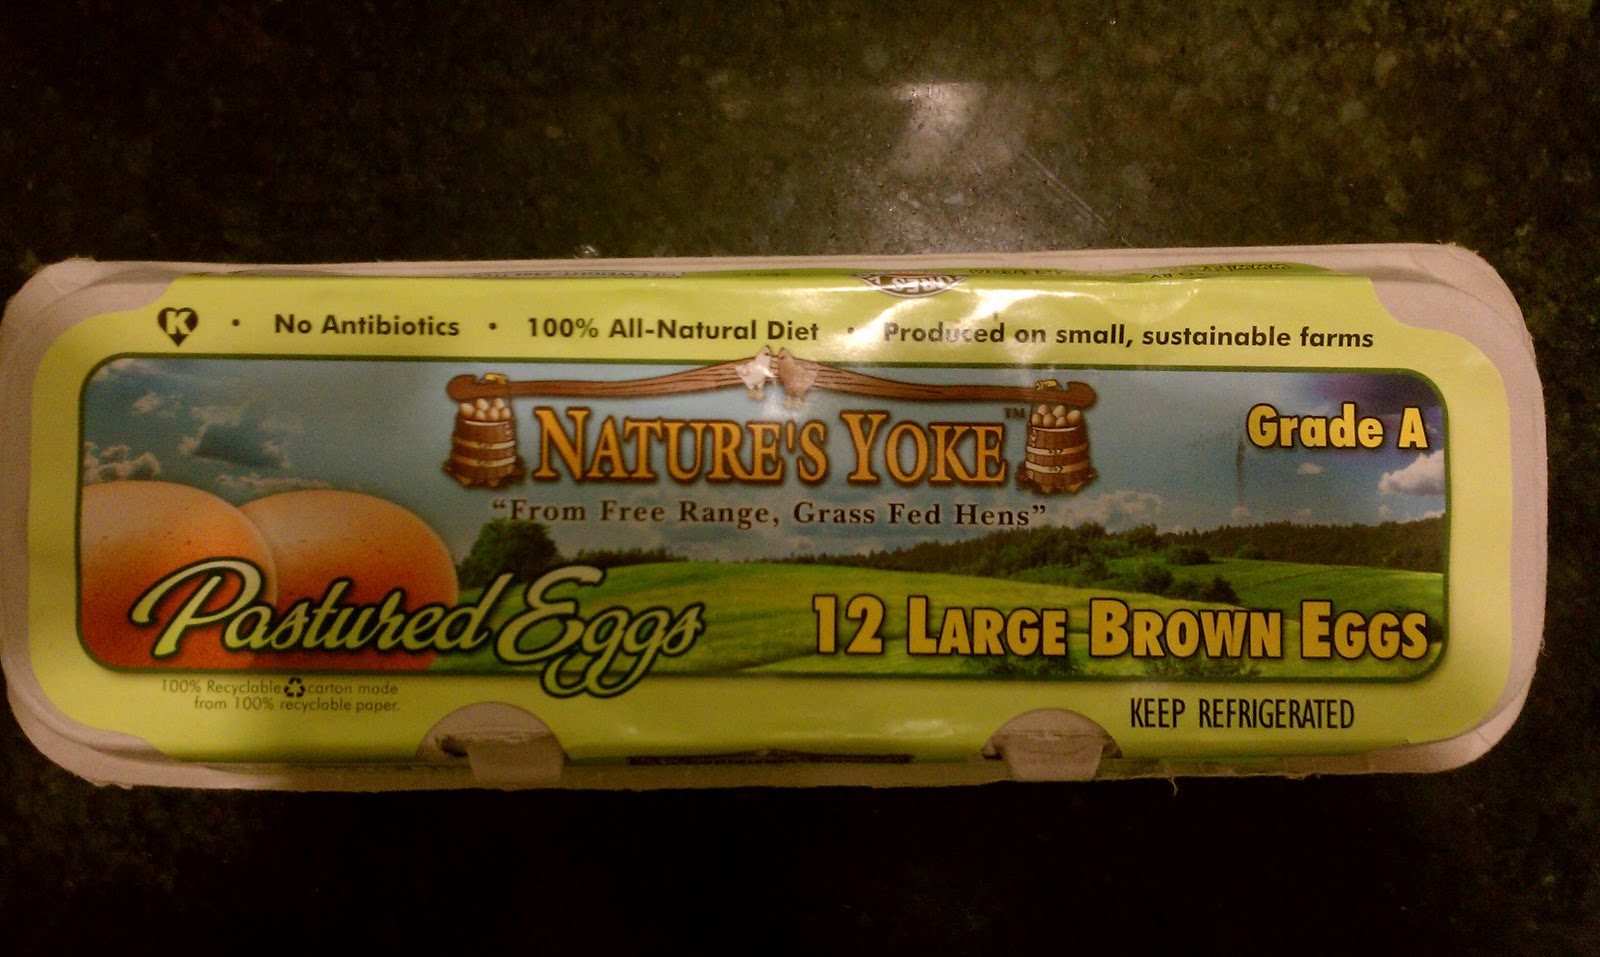
Because of this, I like to buy what is referred to as pastured eggs. This type of egg comes from chickens that are free to roam around on a pasture, and aren't subject to overcrowding and poorly ventilated indoor environments that many of the "cage free" chickens are subjected to. These particular eggs are from grass fed hens, so you can be assured that they aren't being fed corn meal or other chickens, as some modern facilities permit and even encourage. Because of this, you have a relatively stress free chicken with space to move around and a healthy diet, and thus you have a safer, more ethical, and tastier product. Look, there's even a little article about their practices on the inside of the carton:

I'm a pretty happy person, so if nothing else, it assures me to know that I'm eating the offspring of happy animals. You are what you eat. Anyway, no matter what kind of egg you're buying, it's really important to be that really annoying person that likes to check every single egg. If you're paying a premium price for a premium product, it's worth the extra 30 seconds to look through and make sure there's no cracks or breaks in your eggs.

The Fried Egg Part 1: Sunny Side Up, Low and Slow
There's a lot of advocates out there for the low and slow cooking method, and for good reason. Cooking your food slowly and gently tends to soften up tough connective fibers, and cook everything through more evenly, as it allows the heat time to evenly distribute throughout whatever it is you're cooking. I'm going to be cooking my eggs today using 2 methods. One will be low and slow, cooked sunny side up, and the other will be over medium heat, cooked fairly quickly, and made over easy (just for the sake of variety).
It's important to start by bringing all your eggs and even your butter up to room temperature. By doing this, you're assuring that your final result will be evenly cooked through. Let your eggs and your butter sit out for 30-45 minutes. Don't worry, they'll be ok on their own, just leave them. This is a good time to preheat your oven for egg's good buddy, bacon.

Yes, I love bacon just as much as the next guy. I've become fairly snobby about my bacon lately. Ordinarily I'd go with Schaller and Weber's double smoked bacon (easily the best I've ever had). In this case, I decided to try a nitrate free apple smoked bacon from Trader Joe's just for kicks. If you can get it in a whole slab, do it. It'll keep longer, and you can slice it to whatever thickness you want (I like mine fairly thick). In any event, start with some great bacon and preheat your oven to 400 degrees. When you're ready to start your eggs, put your bacon in the oven for 12-15 minutes. How do you know exactly how long it'll take? Check it! Your oven probably has an oven light, just take a glance. The amount of time depends on the thickness of your bacon and how crispy you like it. I like mine well done, so I like to do 15 minutes.
By heating the bacon in the oven, you're ensuring that your bacon cooks evenly all the way through. In addition, you're freeing up space in your kitchen and saving yourself the hassle of multitasking. If you have many people to serve, you can cook much more bacon at a time than you could in a pan. And now, back to your eggs.

You're going to need a small nonstick pan for this. I got a set of 2 very cheap at Costco (25 dollars for the set). Start with some really good butter in the pan. I like to use a European or a cultured butter because they're rich in butter fat, providing a rich creamy texture and complex flavor. Put about a tablespoon of butter on your pan, and heat it up on low.
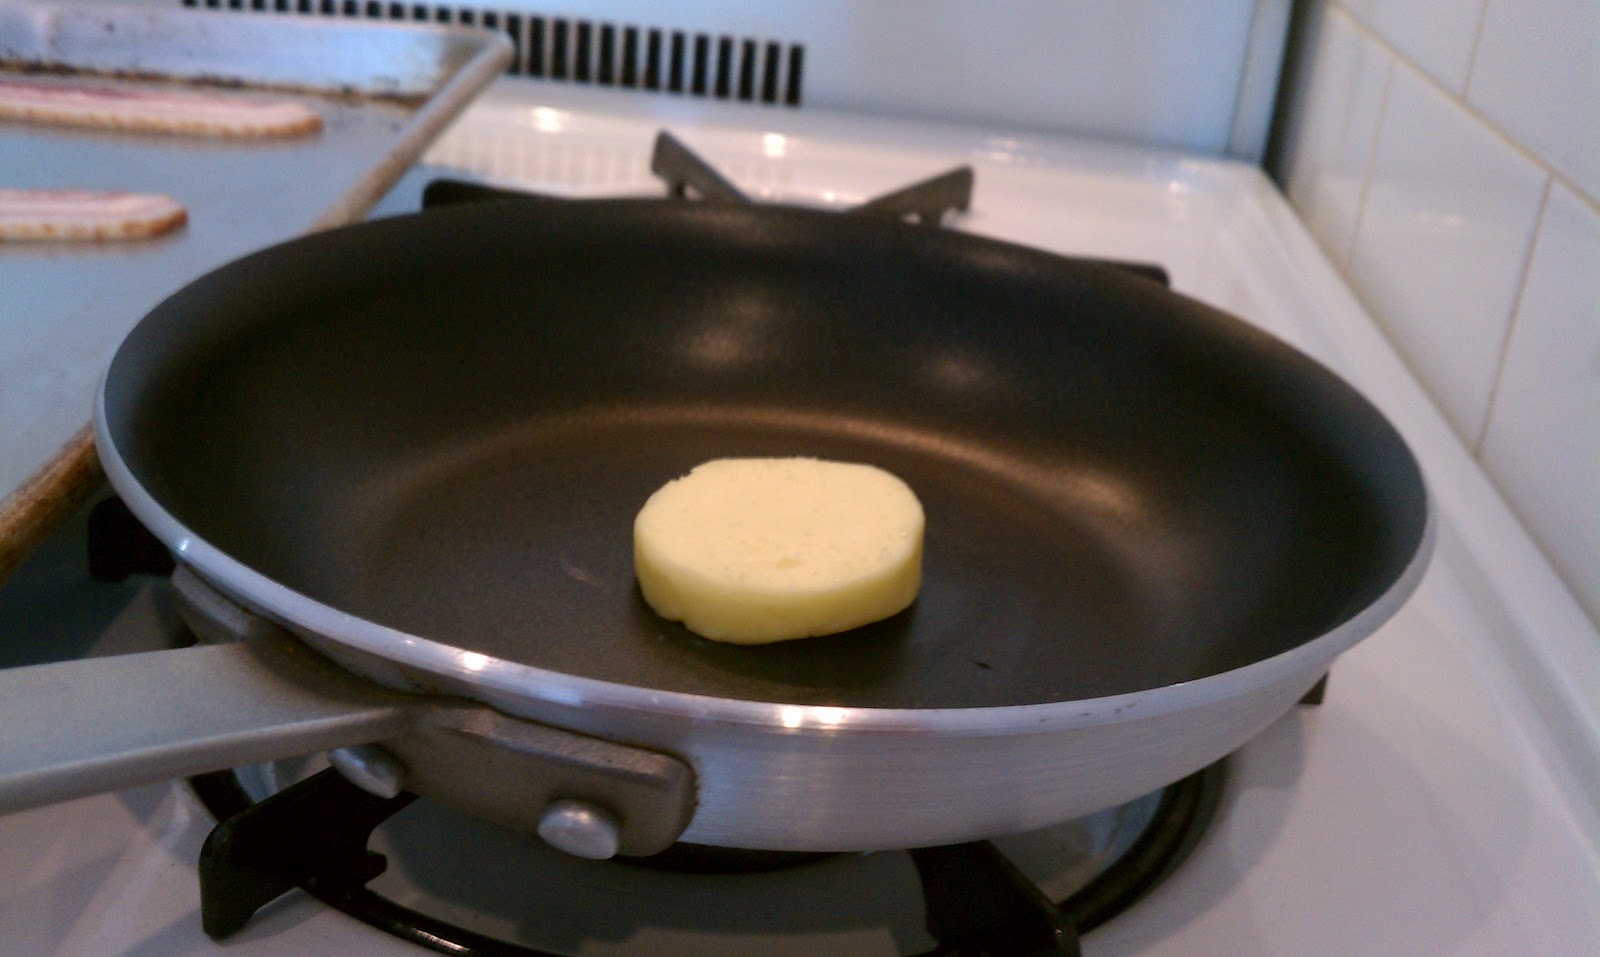
Once the butter has melted, and has started bubbling, it's time to crack your eggs into the pan.

When cracking your eggs, always crack it on a flat surface such as your cutting board. Let gravity do the work for you, don't smash the egg down onto the surface.

When cracking your eggs, always crack it on a flat surface such as your cutting board. Let gravity do the work for you, don't smash the egg down onto the surface.

Once you crack your egg into the pan, you're going to notice the whites cooking very quickly. Take the pan and tilt it so that all of the whites stay close to the side of the pan. This is going to provide a more definite shape for the egg. Hold the pan at this angle and let it cook until the whites have firmed up. As you can tell from this picture, there is a firm white in the center which mostly keeps its shape (due to the freshness of the egg), and a little bit of runny white which distorts the shape of the egg a little bit. This is ok, since we're going to shape our egg at the end.

As you're cooking the egg, the heat is radiating from the bottom of the pan. Because of this, the bottom is cooking quickly, and the top is cooking at a slower rate from the heat transfer. Tilting the pan again, take a spoon full of the hot butter and spoon it over the top of the egg. This is going to speed up the cooking process and make sure the top gets cooked a little bit faster.

Because this egg is a little oddly shaped, I'm going to be using a ring mold to create the shape I want out of the egg. Note that this step is purely optional. If you want a ring mold, you don't need to spend all kinds of money on a fancy set. The one I made was from a can of middle eastern cheese whiz (I live in an odd neighborhood) in which I've used a can opener on both the top and bottom. This is going to provide a concrete shape for the egg.

Once the whites on top have set, your egg is done! This is the point where you want to salt and pepper the egg. If you're using pepper, be sure to use finely ground white pepper so as not to leave little black specks on your perfectly colored egg.

Be very careful if using a metal utensil on a non stick surface. You don't want to scratch off any of the coating.

As you can see, we have a beautiful egg with well defined edges, cooked evenly all the way through.

The yolk should be runny and should mostly deflate the moment you cut into it. This low and slow method produces a beautiful, perfectly cooked egg. However, there are those that believe that eggs should be cooked at a higher temperature to promote browning, so that it develops more complex flavors. Because of this, I intend on investigating as I cook a more browned egg, cooked over easy.
The Fried Egg Part 2: Over Easy, Quickly Browned
I would be amiss if I didn't mention the arguably more Americanized fried egg, one that has been cooked quickly to develop browning. There are some that argue that this egg is more flavorful due to the Maillard reaction, a complex series of chemical changes that occur when cooking something over a higher heat. However, this takes place at the expense of presentation, because although you're left with a more flavorful product, the egg doesn't make its appearance in its purest and most colorful form. We're going to start with more butter in the pan, melted over medium heat. This time, add the egg when you see the first wisps of smoke on the pan. Crack the room temperature egg into the pan and turn off the heat. The residual heat from your grill and the pan will continue to cook the egg

Tilt the pan to one side like before to make sure the egg whites stay together.

Once the whites have set, give your egg a quick flip. Salt and pepper your egg at this point.

You can see that the surface has cooked quickly and is much less uniform, but has developed some wonderful brown edges. I'm going to shape the egg again using my makeshift ring mold.

You want to work very quickly as soon as the egg has flipped. Get it onto your plate immediately to slow the cooking process.

Meanwhile, my bacon is done, and has come out to the right level of crispiness after 15 minutes.

Try to get these onto paper towels immediately so they don't become soggy.

And now, back to the egg again. The higher heat has developed some great complex flavors that are absent in the sunny side up egg. However, this method has several issues. As the egg is left to cook much more rapidly, it develops a more uneven shape. Also, because of the medium heat, the yolk firms up very quickly, so it's very easy to end up with an overcooked egg. And finally, the well defined colors of the egg become less clear. This is because of the browned milk solids from the butter as it cooks in the butter fat. Although this adds a nice toasty flavor, the presentation of the egg is certainly compromised, at least to a certain extent.

The Conclusion
I prepared a fried egg in 2 different styles using 2 slightly different methods. Arguably, the first method resembles the egg in its purest form, slowly cooked with a little butter. This method is essentially foolproof as you're working over low heat, ensuring a properly cooked yolk. The crucial element to the second method is the browning of the butter and the egg. However, because this uses a higher heat, it's essential to work quickly to ensure an evenly cooked egg. Honestly though, the way you prepare your eggs comes down to personal preference. Eggs are something that can be enjoyed (and inexpensively, at that) for any meal of the day. They are a great source of protein and nutrients, and can be an inexpensive luxury and an extremely versatile ingredient in the kitchen. If one understands how to properly cook an egg, then they are truly learning some of the most important tenets of cooking, which can be carried over into pretty much all other aspects of the kitchen.
I hope you'll stay tuned. Next time: Scrambled Eggs!
Cool. Next time you have to put up a video of you making the bizarre faces as you bite into the egg a la America's Test Kitchen.
ReplyDelete